
INTRODUCTION #
The Vigilant system enables end-users to scan tags placed on locations and assets sending real-time incident using the Vigilant Mobile application. Admins view real time guard location and events(scans and incidents) on the Vigilant web application.
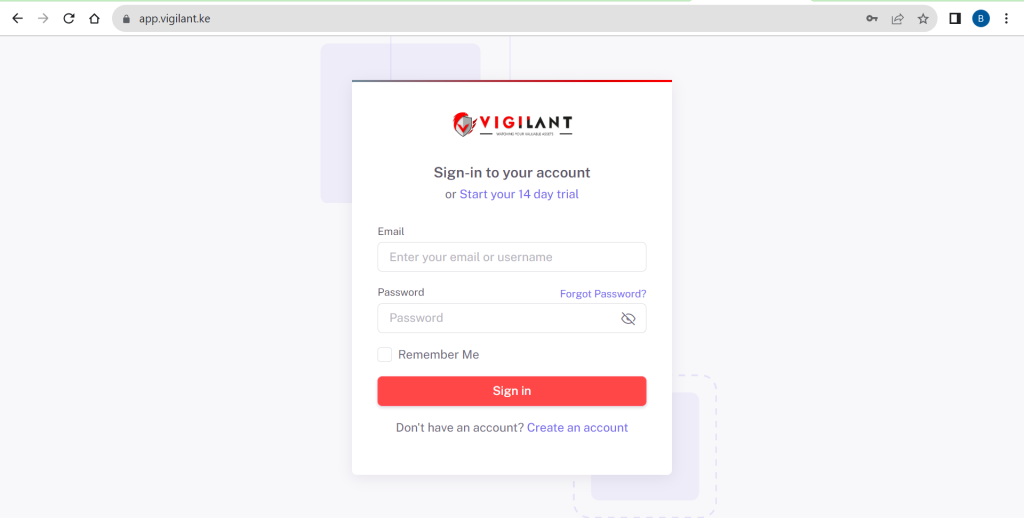
LOGIN #
- To log in to your account access this link(Identigate – Vigilant )
- Input your email and password.
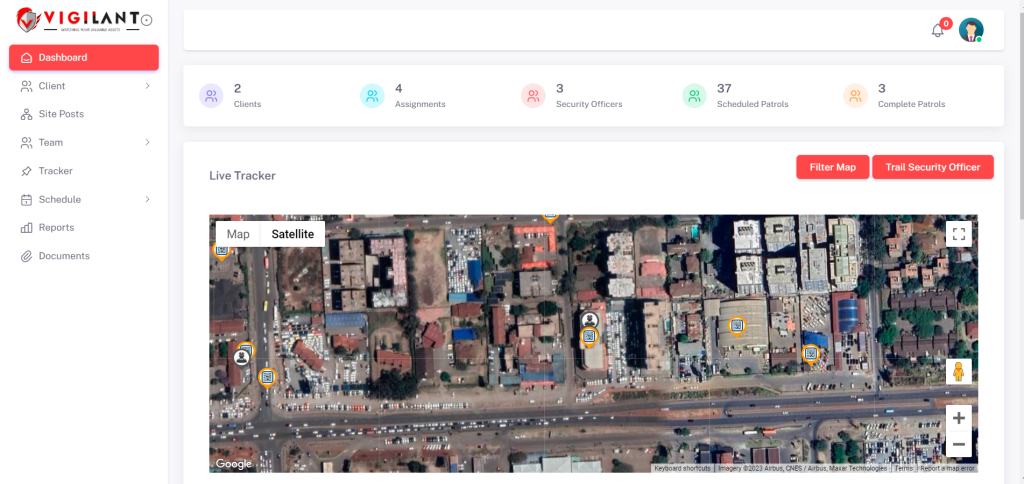
Once you log in you will be direct to the dashboard view.
On the dashboard you can vew:
- Number of clients
- Number of assignments
- Number of security officers
- Scheduled patrols
- Completed Patrol
- Live tracker(live locations of assignments and guards on the map)
As shown on the screenshot below.
CLIENT. #
Under clients one can view/add clients and view/add their assignments
View/Add Clients #
- Click on List button.
- On this page you can view and add new clients.
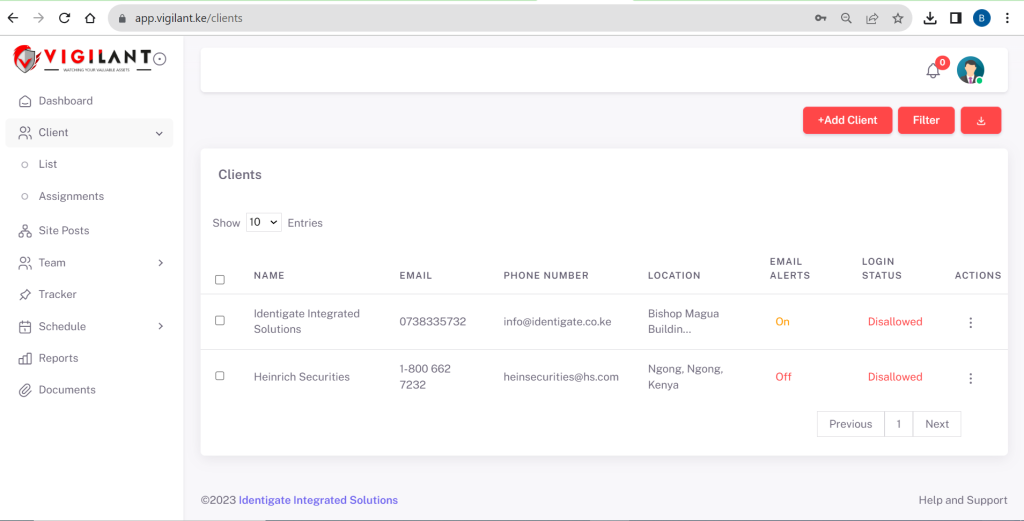
On the above page you can view your clients, to add a client click on the “Add Client” button. The button will direct you to the page below.
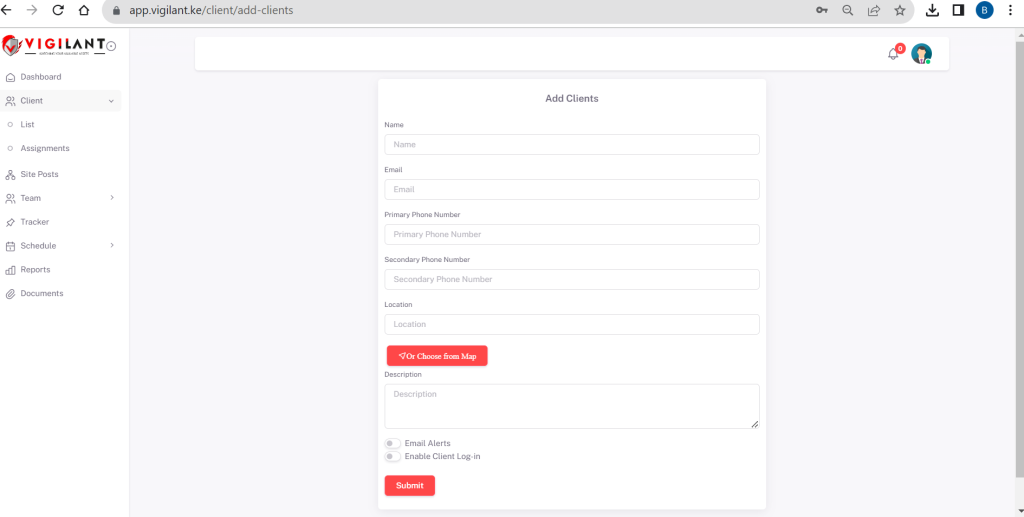
To add add a client input the cleint’s details:
- Name
- Primary Phone number.
- Secondary Phone number(optional).
- Location( e.g Bishop Magua Building, Nairobi, Kenya) (you can also choose the location from the map by clicking on the button bellow the input field)
- Descrption of the clients.
- Toggle between allow the client to recieve email.
- Toggle to enable the client to login.
- Then click submit button to create the client account.
Assignments #
- Under the client dropdown button click on Assignments.
- On this page you can view and add Assigments.
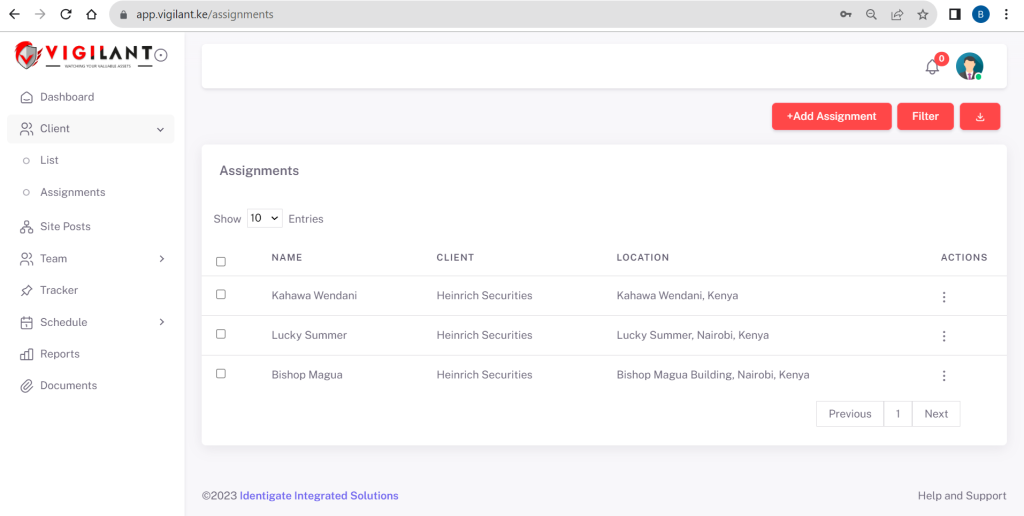
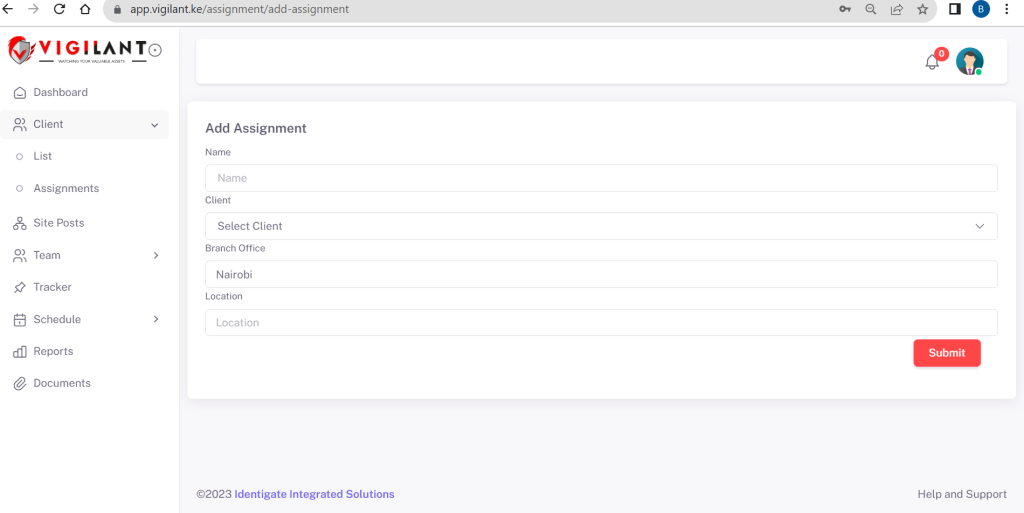
- Name
- Select client from dropdown list
- Select branch office
- Enter location
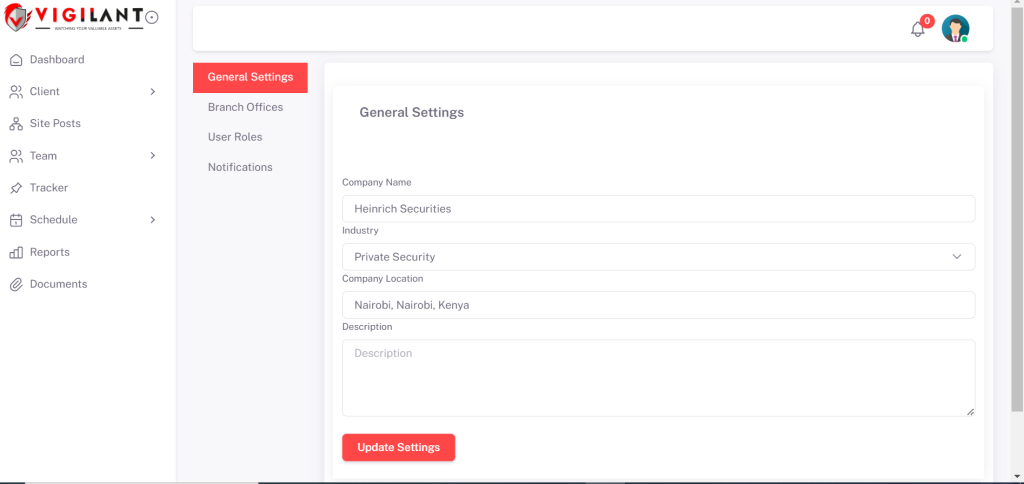
COMPANY SETTINGS #
Under company you can edit General settings for your company, view/create Branch Office and User Roles. To access Company Settings click on the avatar button on the top right corner then select company settings , you will be directed to the page bellow:
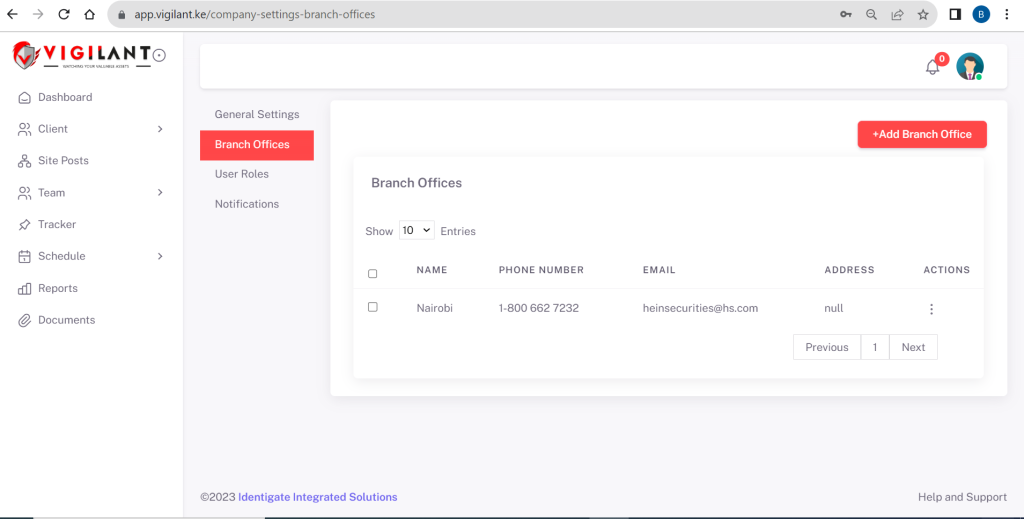
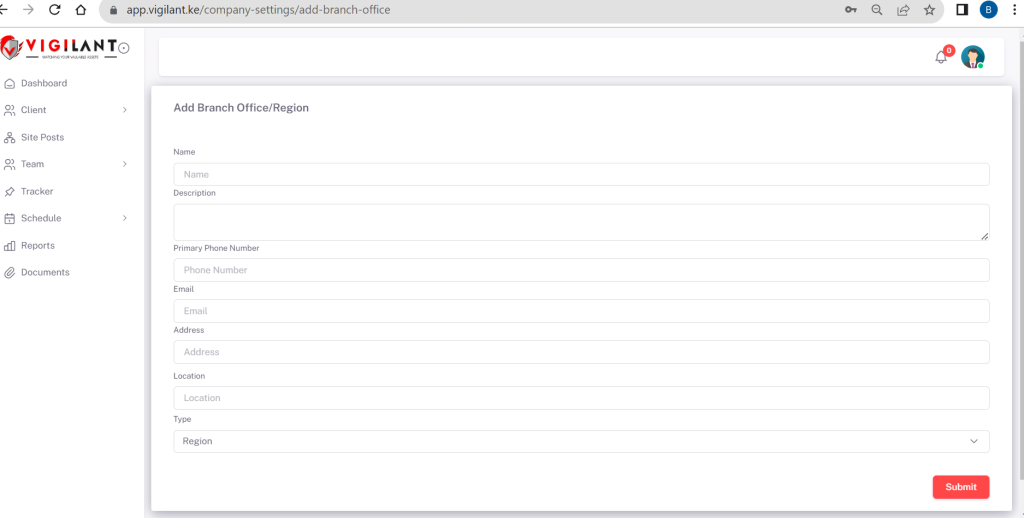
Branch Office #
To view/create Branch Office click on the Branch Offices on the above page. The button will direct you to the page bellow:
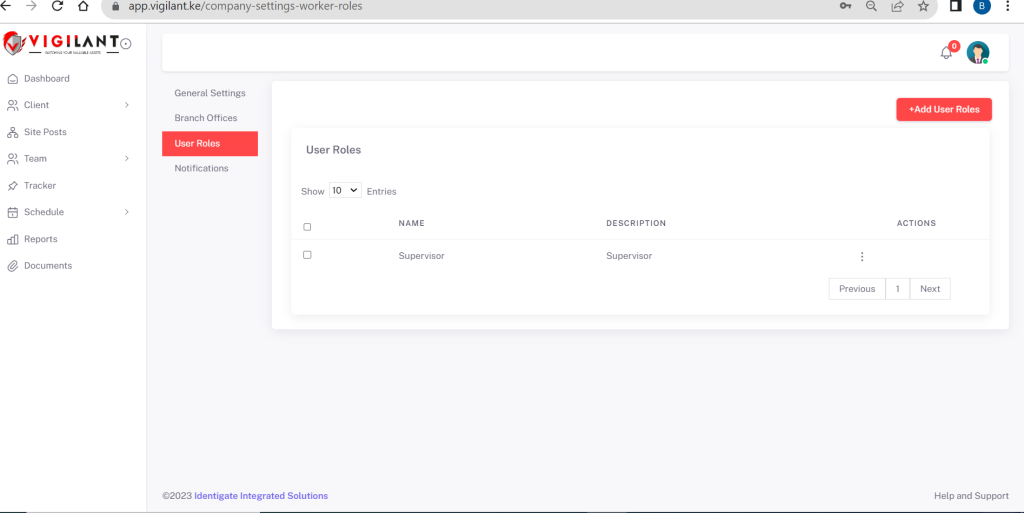
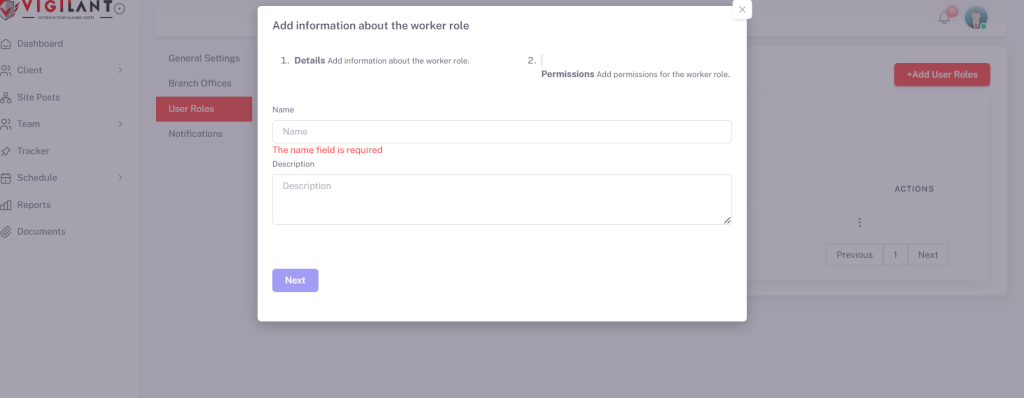
User Roles #
To control permisions that user have, you can create user role then assign permissions to the role. To add/view user roles click on the User Role Button in then Company Settings page. The button will direct you to the page bellow:
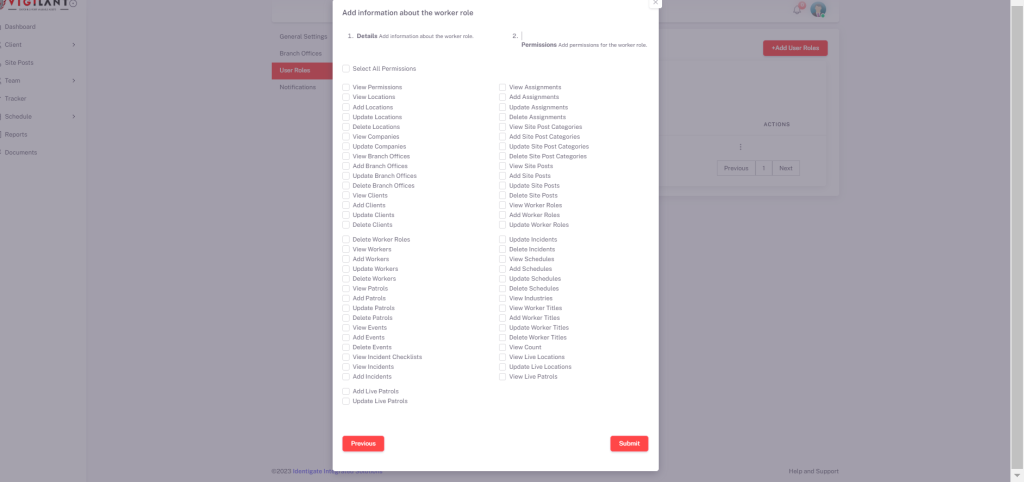
On the page above select the permissions that you want the User Role to have, then click on Submit button to create the User role.
TEAM #
Team represents Under the team dropdown button you can view and create security officers and back team officers for example supervisors.
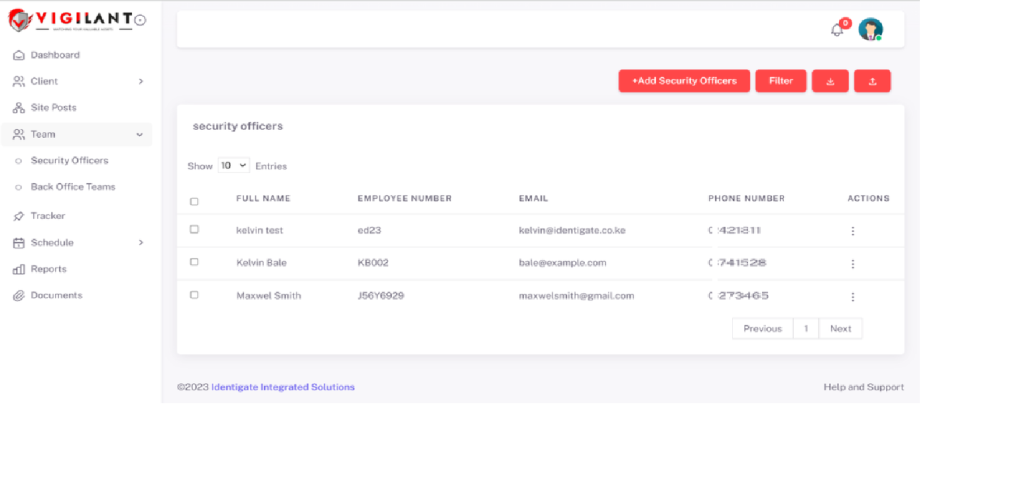
Security Officer. #
A security officer can log in to Vigilant Mobile application using their phone number and be able to scan qr codes and send incidents(photos).
- To create a security officer, click on Security Officer button under the Team dropdown button.
- You will be directed to the page bellow.
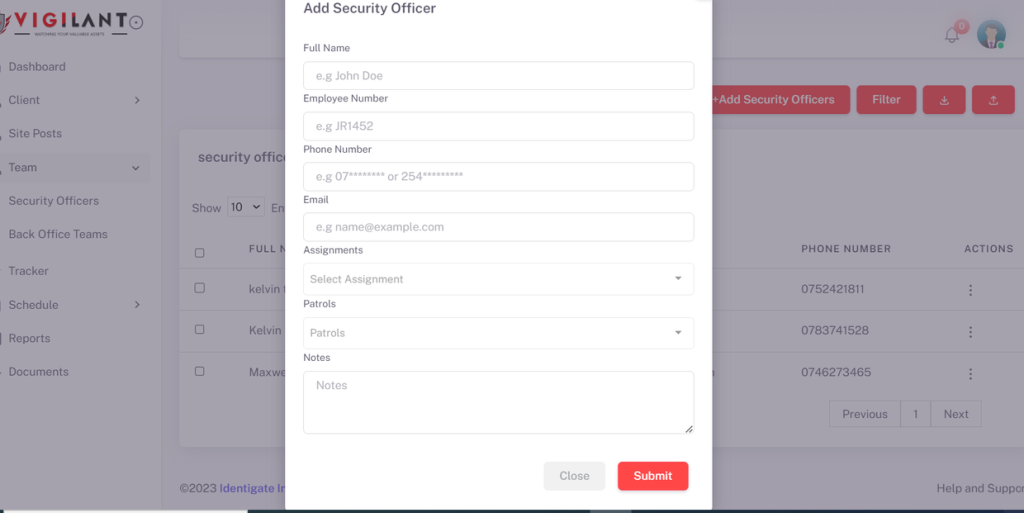
To add a security officer click on the Add Security Officer button , you will be directed to the Modal page bellow:
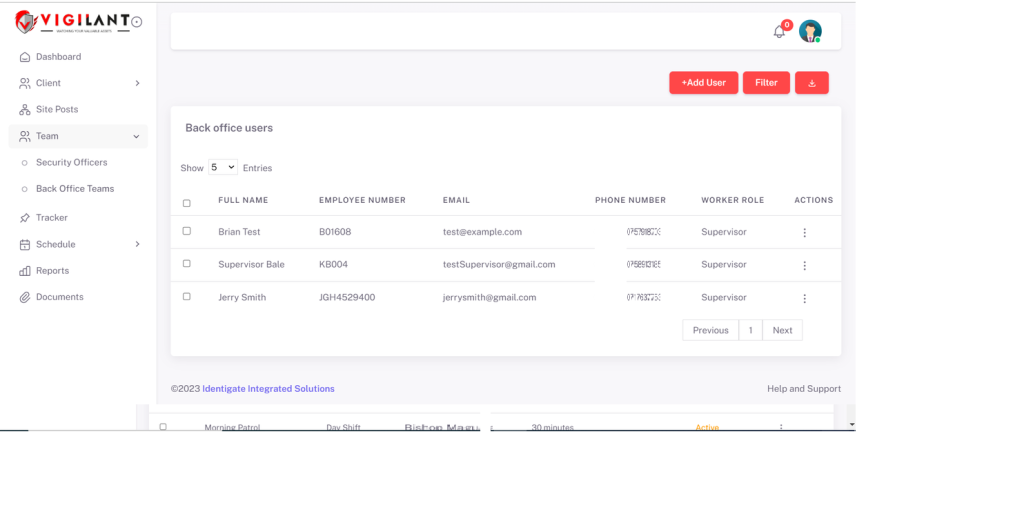
Back Office Teams #
A back office user can log in to Vigilant mobile application using their phone number and assign site post(Qr codes) to locations or assets. To add a back office user:
- Click on the Back Office Team button
- On this page you can view/ create a back office user as shown below.
To add a back office user click on the Add User button, it will direct you to the page bellow.
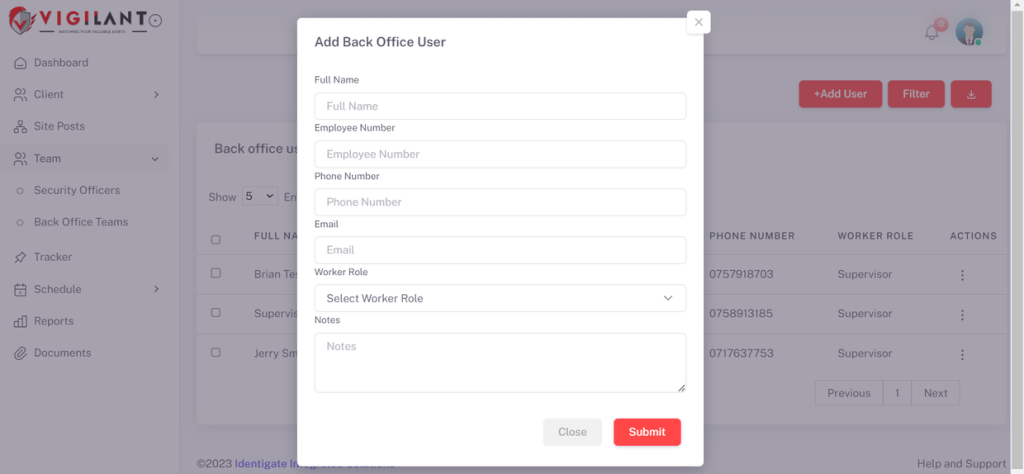
Fill in the details of the back office u
SCHEDULE #
Under Schedule you can create/view Patrols and Shift
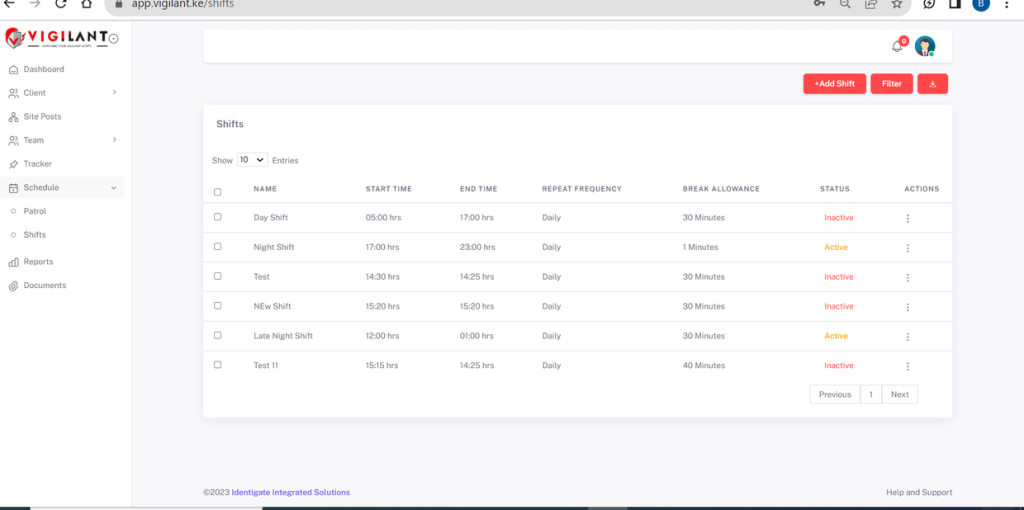
Shift #
To view/create Shifs click on the Schedule dropdown button on the side panel , it will unwrap to reveal Shifts and Patrol Buttons click on Shift it will direct you to the page bellow:
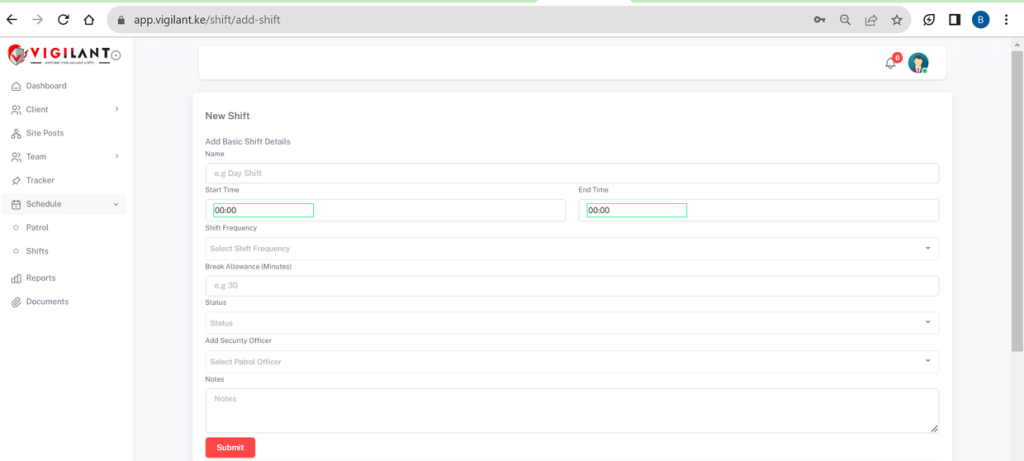
To add patrols click on the Add Shift button that will direct to to the page bellow:
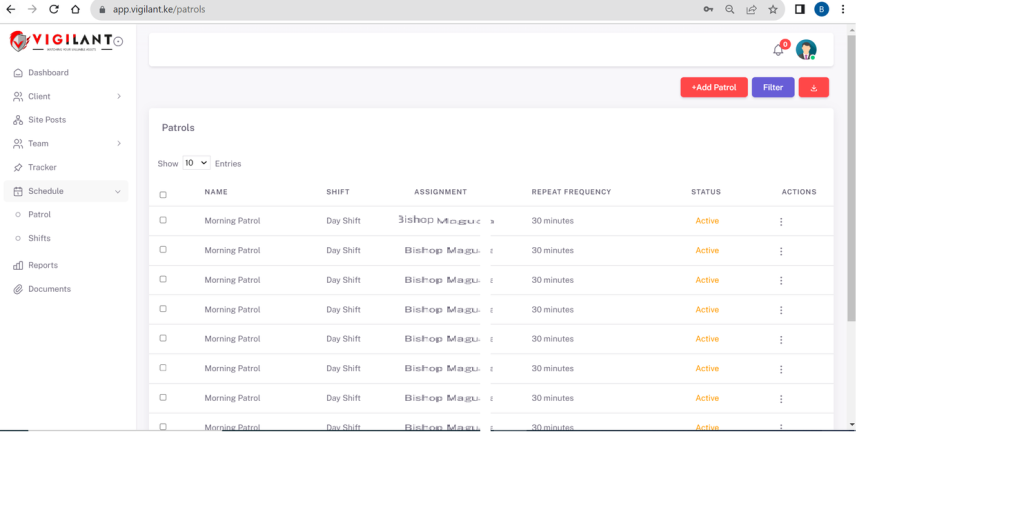
Patrol #
To view/create a Patrol click on the Schedule dropdown button on the side panel , it will unwrap to reveal Shifts and Patrol Buttons click on Patrol, it will direct you to the page bellow:

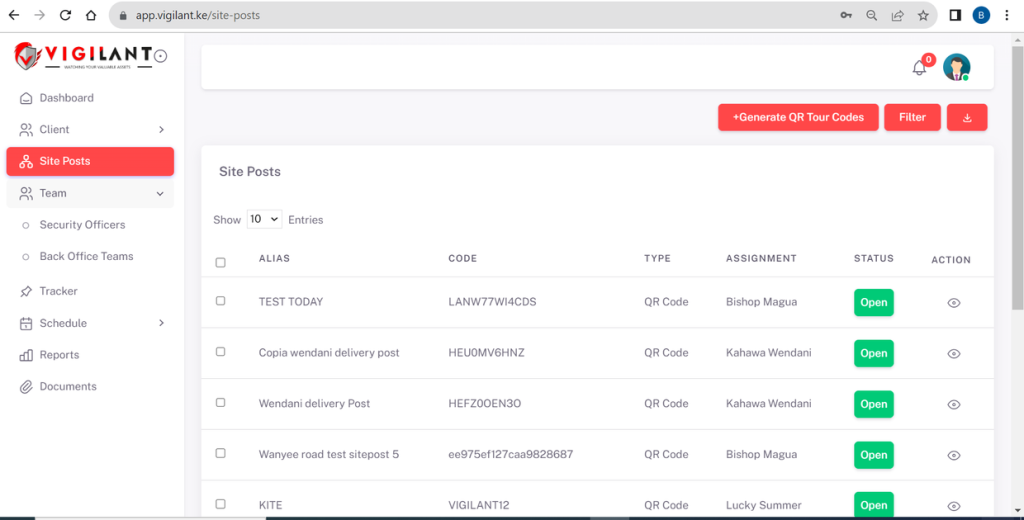
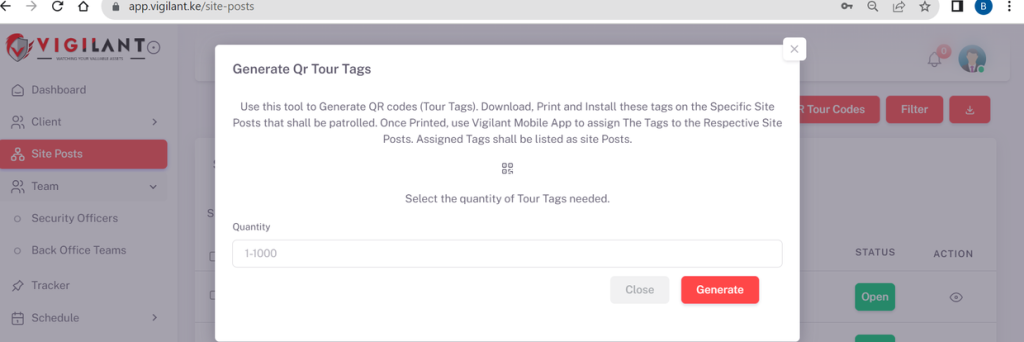
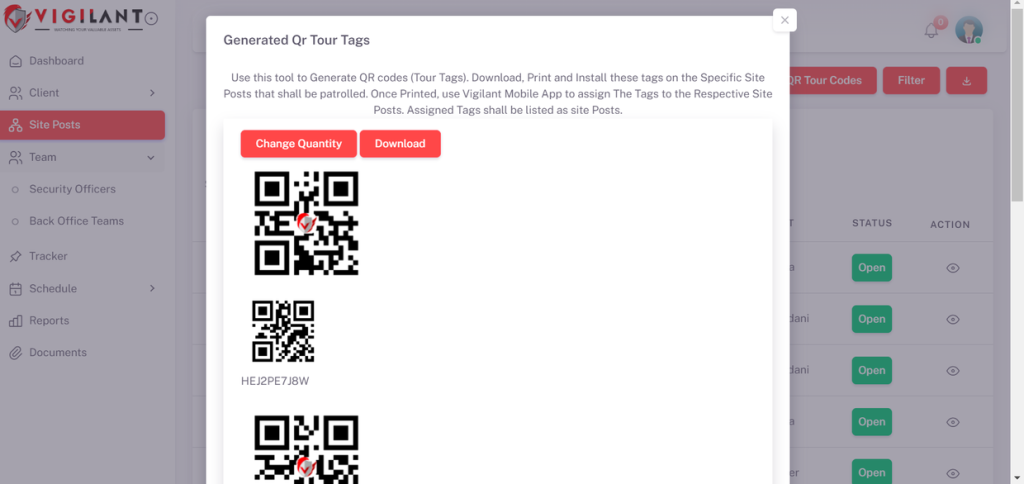
ADDING SITEPOST #
To view / generate sitepost click on the Sitepost button. You will be directed to the bellow view.
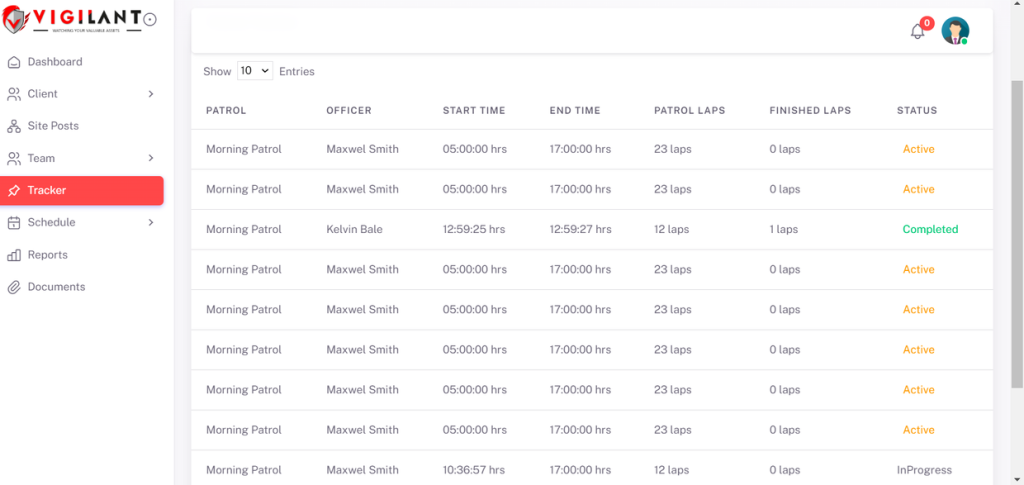
TRACKER #
On this page you can view all security officers patrols and the status of the patrols(Active,In Progress or Completed) as shown on the screenshot bellow:
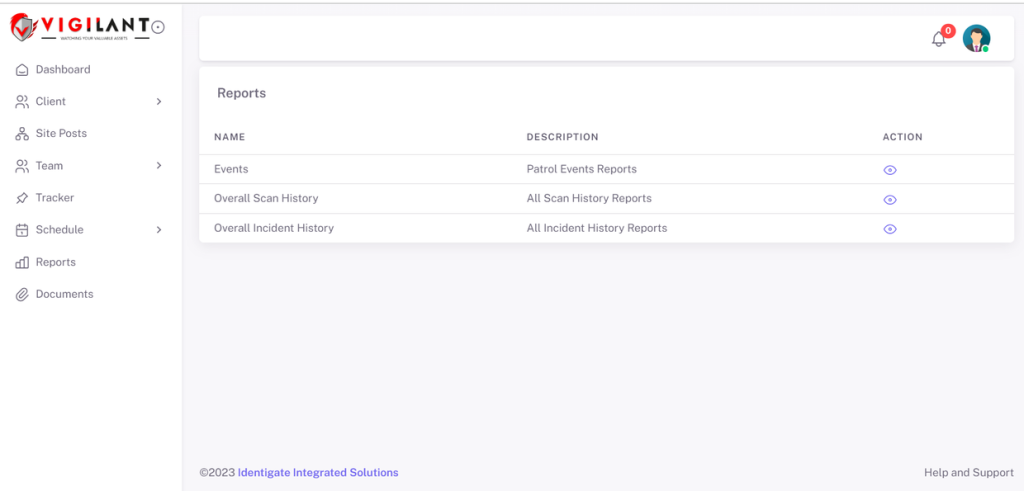
REPORTS #
Under reports you can view history of events, incidents and scan history. To access reports click on the Reports button on the side panel menu, you will be redirected to the bellow page.
Disclaimer: This guide is meant to guide you through the Vigilant Web application, the content in the Screenshots may not neccesarily reflect on your web pages. For any queries please contact us.


 Arabic
 Chinese (Simplified)
 Dutch
Dutch English
 French
 German
 Italian
 Portuguese
 Russian
 Spanish
 Swahili